Just wandered if anyone was using the M1 on an MFT with track and saw setup and how you find it? Especially with sheet materials…
Hey Michael, great to meet you. Do you mean for use with a Festool Track Saw on the table?
1 Like
Hi Rock,
Likewise ![]()
Yes, I am indeed referring to the Festool MFT and track saw setup ![]()
Very nice, what would you imagine the M1 itself measuring, like how far it has traveled down the track?
Yes, they’re a nice bit of kit.
The sheet material we use is 8 x 2. The M1 would be used for various length measurements.
So the M1 would be mounted on the guiderail. Perpendicular to the track.
Just wondered if anyone had used the M1 in that setup and how it worked out really.
Out of interest, is the M1 capable of receiving measurements from the Rock App? Excuse me if that’s on the website, I’ve not gone through everything as yet…
Hey Michael, very cool, in this application, it might be better to use the T1 and use a mount/3d printed fixture to hold it in place on the track and use it to reference the edge of the surface.
The M1 could work but since its open loop, is reliant on being dragged to a location with the wheel in contact the entire time. The M1 does not work directly with the app and we usually se (in testing) users use the ROCK App to show their cut list/measurements and then move the M1 to the proper location according to the measurements displayed.
Thanks Rock.
Very helpful ![]()
I think it’s worth taking a punt and buying the M1 to see what I can do. I’ll post some updates ![]()
No problem re the App.
Thanks for your help. Could I please ask for this thread to be left open in case anyone has tried it and wishes to post.
Absolutely, well leave open and would be great to see photos once you get it setup, happy to offer any pointers we can to be helpful!
Where do you find the file for that mount
no file we have right now, just something we were speculating could be done, should be pretty straight forward to make though
I can print it would just need bolt spread . When mine comes in I’ll send you a file . I had ordered one as an add-on.
1 Like
Do all the M-1’s work with T-1’s. Data transfer?
not directly, usually we see testers keep a phone next to their M1 which acts as the cut list and then measurements can be checked off as they are completed

1 Like
The M1 has arrived today.
Got to say, the packaging is amazing chaps! You’ve done a brilliant job there ![]()
Right, so we’ll be getting it set up over the next week and should have some feedback for anyone that’s interested shortly.
I’m kinda looking at this as an extremely cheaper, nimble and manual version of the TigerStop.
I’ll report back soon.
Glad to hear it Michael! For some inspiration on using the M1 as part of a hard stop system, we had a customer make one as below to combine both elements (bcdesign_co on Instagram)

Let me know if anything we can do to help and would love to see photos of the process!
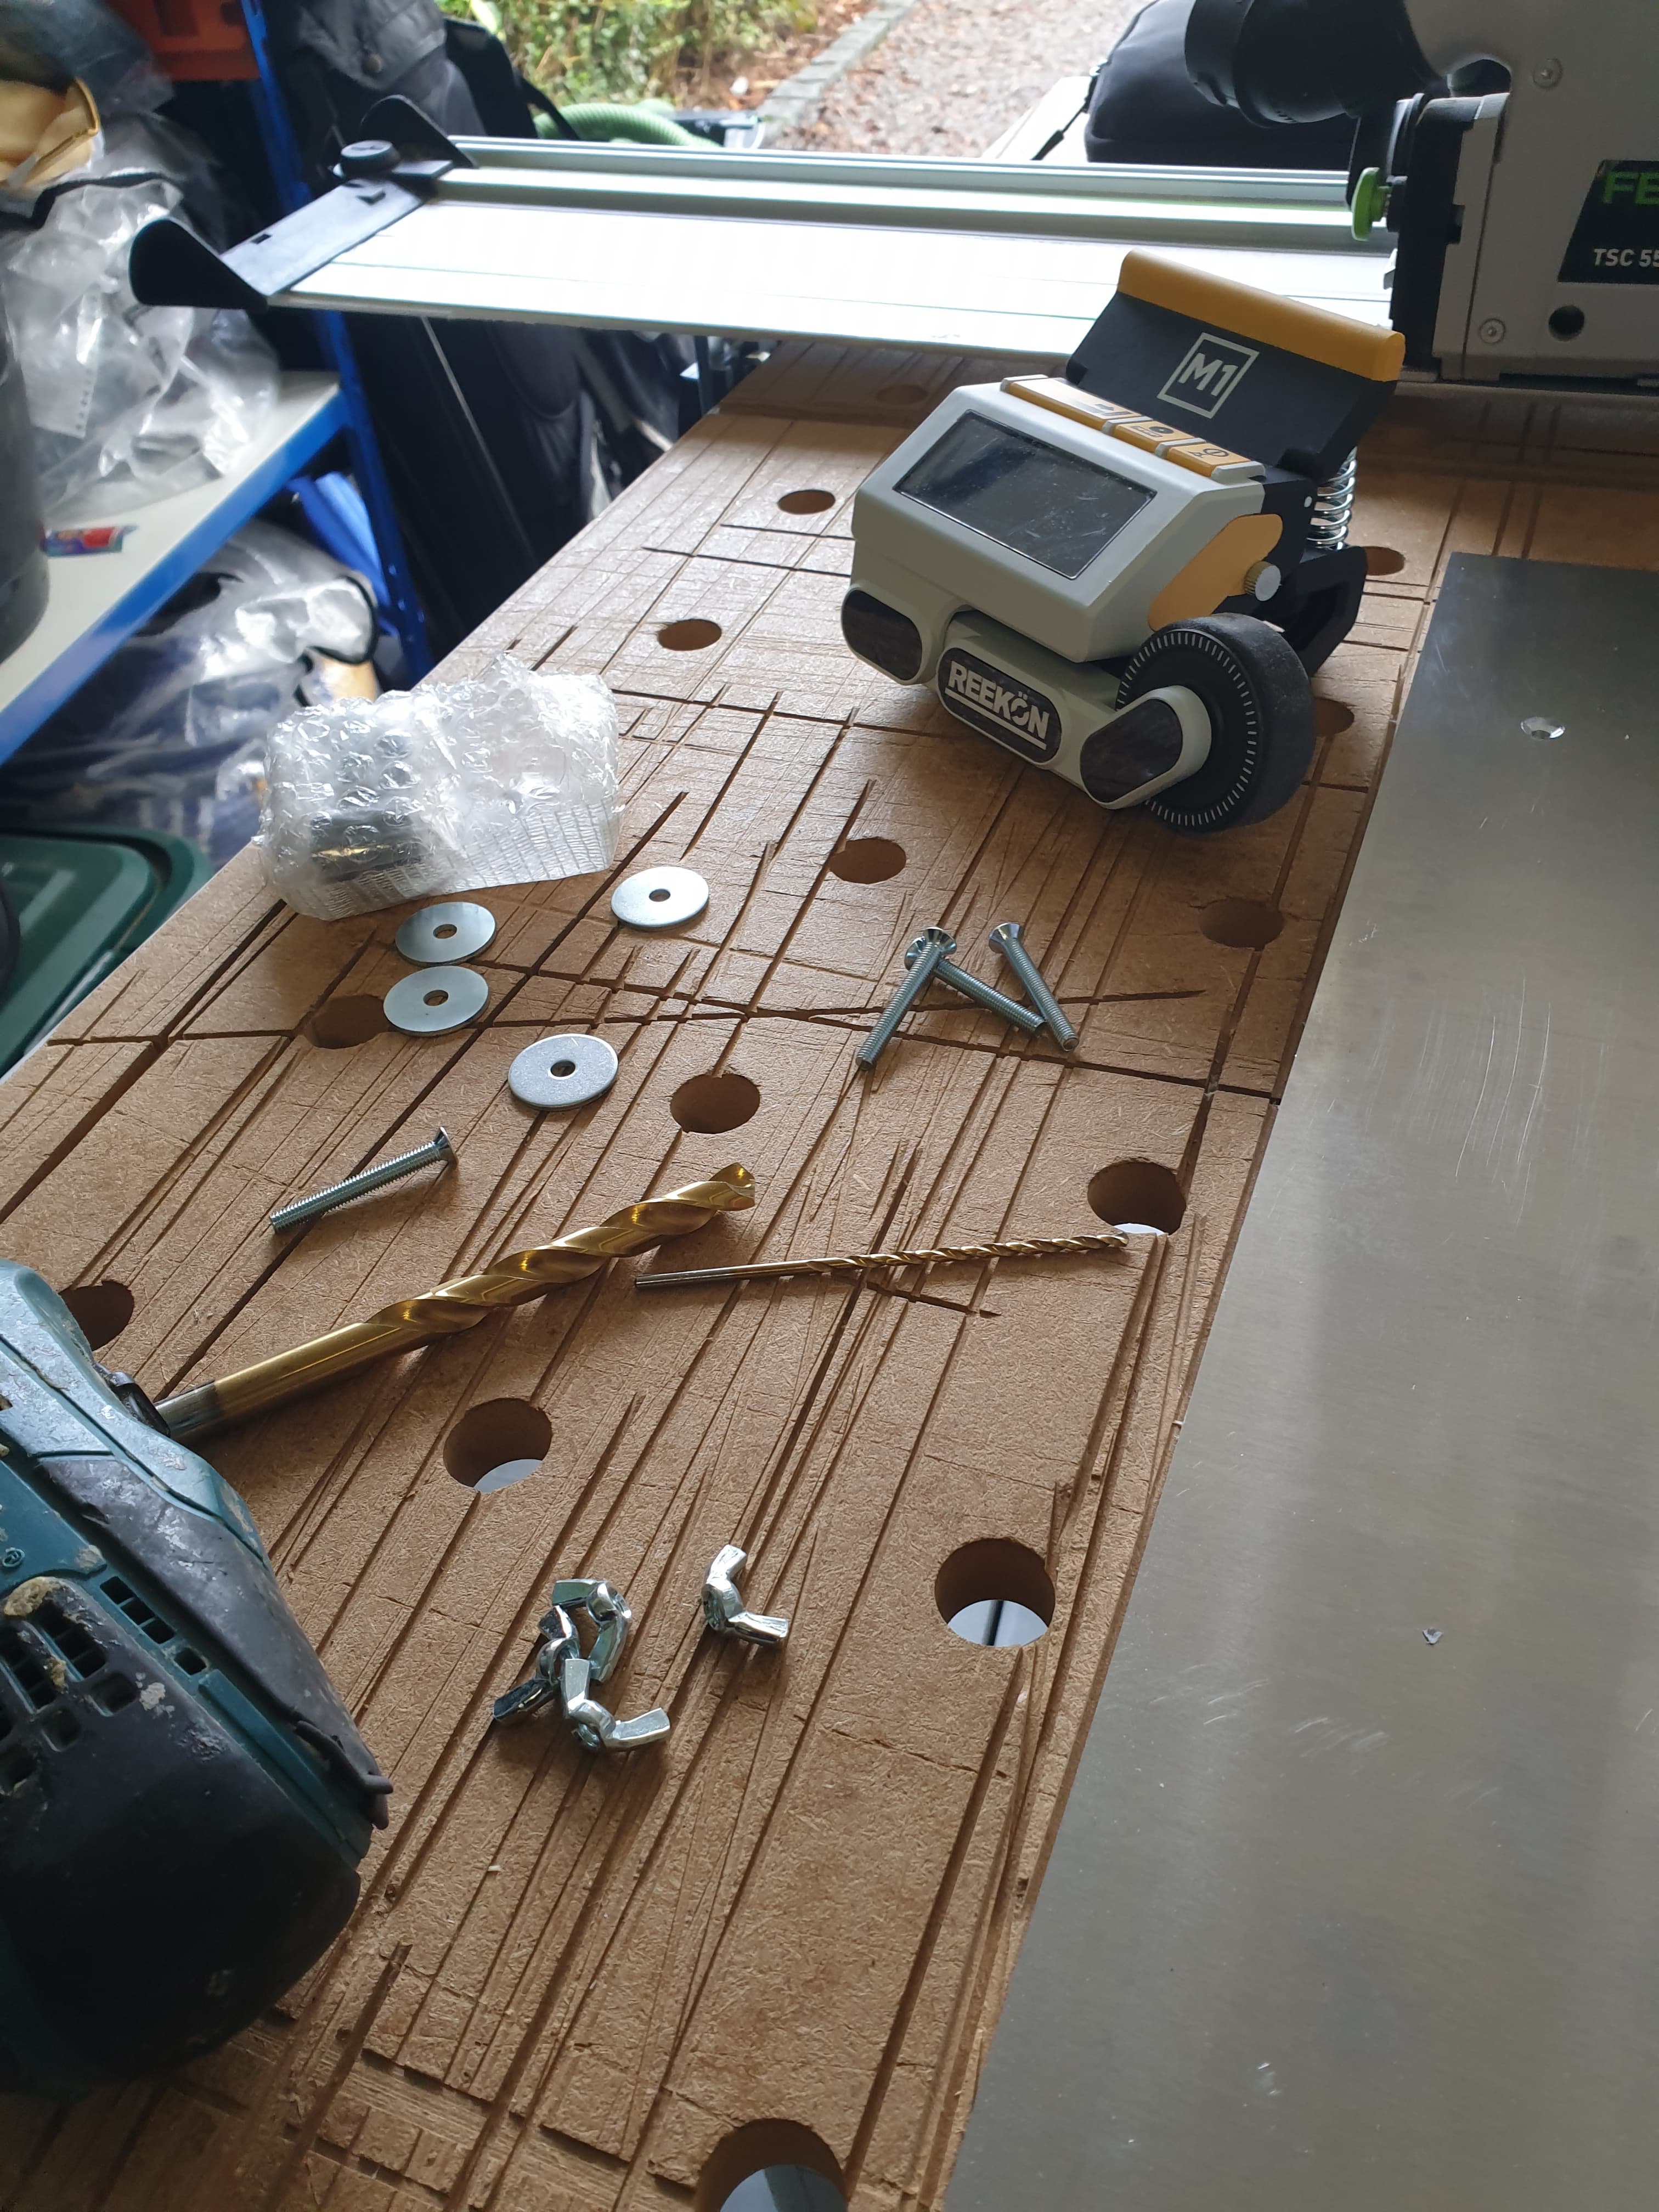
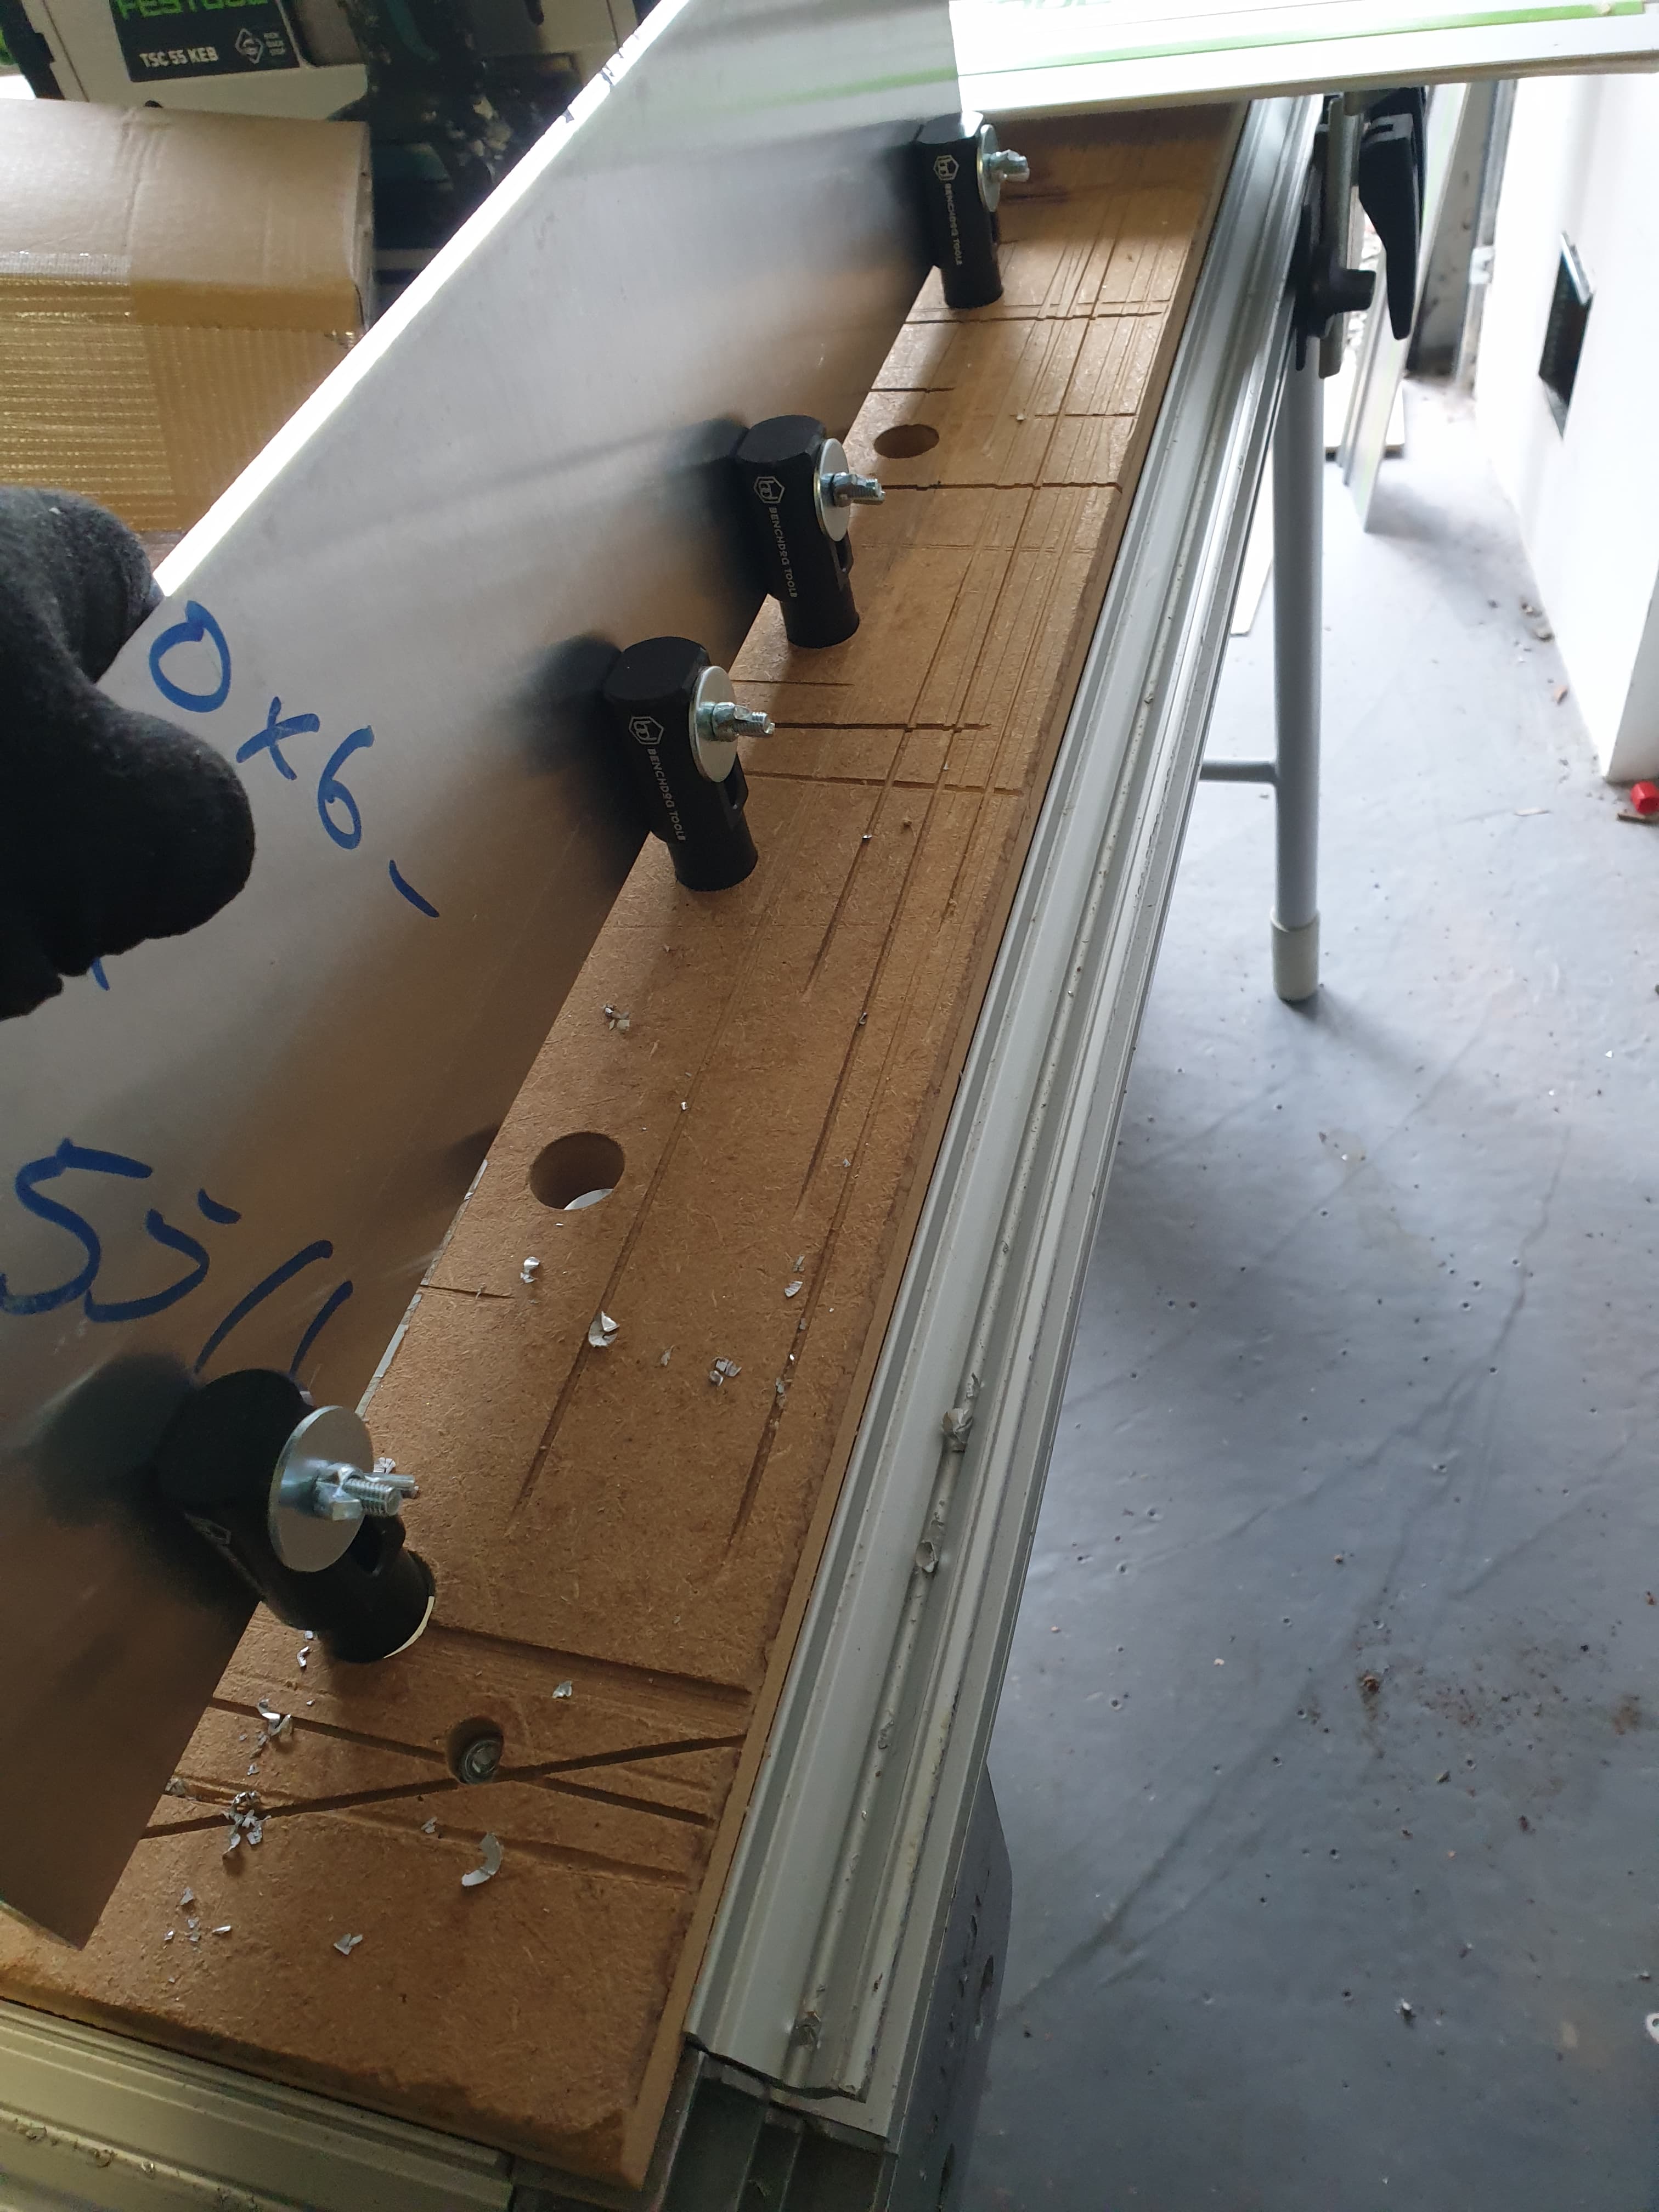
Right, so we finally got this sorted today. Thanks for the pic above.
So I bought a couple of sheets of 6mm Aluminium - for the M1 to attach to aswell as a make do guide fence - cut to size (about 150mm by 500mm). I did this as the standard guide fences are to chunky for the M1 to clamp to aswell as not being high enough.
I then strapped a few guide fence bench dogs to the Aluminium. Now we can just drop the make shift fences into the dog holes whenever we’re using the M1.
This is a mobile setup by the way. You bench joiners may well have this set up in a more permanent manner. Everything detachable works for us best as we’re bouncing from property to property.
So pics below, and I’ll update in a month or so when we’ve extensively used this setup…


I also have a short video of the feed and cut process but it won’t let me upload. Would you like me to email it you guys? I’m easy either way…